Showing posts with label tutorials. Show all posts

Thursday, November 14, 2013

Minion Birthday Gifts and Cupcakes

This post is long over due. Back in August my nephew Tater turned 7. And he was really into minions, those little cuties from Despicable Me. He said he wanted me to make him minion cupcakes and I thought it would be fun for him and I to make them together. When I asked him what he wanted for a gift, he said a minion jacket. What?! Where am I going to find one of those? He says, "You can make one." Simple as that. Naturally all sorts of alarms went off in my mind. I can't make one, and it actually turn out nice. No way, no how! So I said, "Sure Buddy, if that's what you want, you got it!" Then I freaked out forever. I googled so many pictures trying to find one that I could copy. I found a good one and I set out with my fabric and Heat-n-Bond, on a mission to create a minion jacket for my little pal. For the record, I bought the jacket, a plain black hoodie from Wal-Mart. I basically just made a giant minion iron on patch. And since that actually turned out nice, I got a little cocky and made him a bottle with some vinyl and a Dollar Tree bottle.

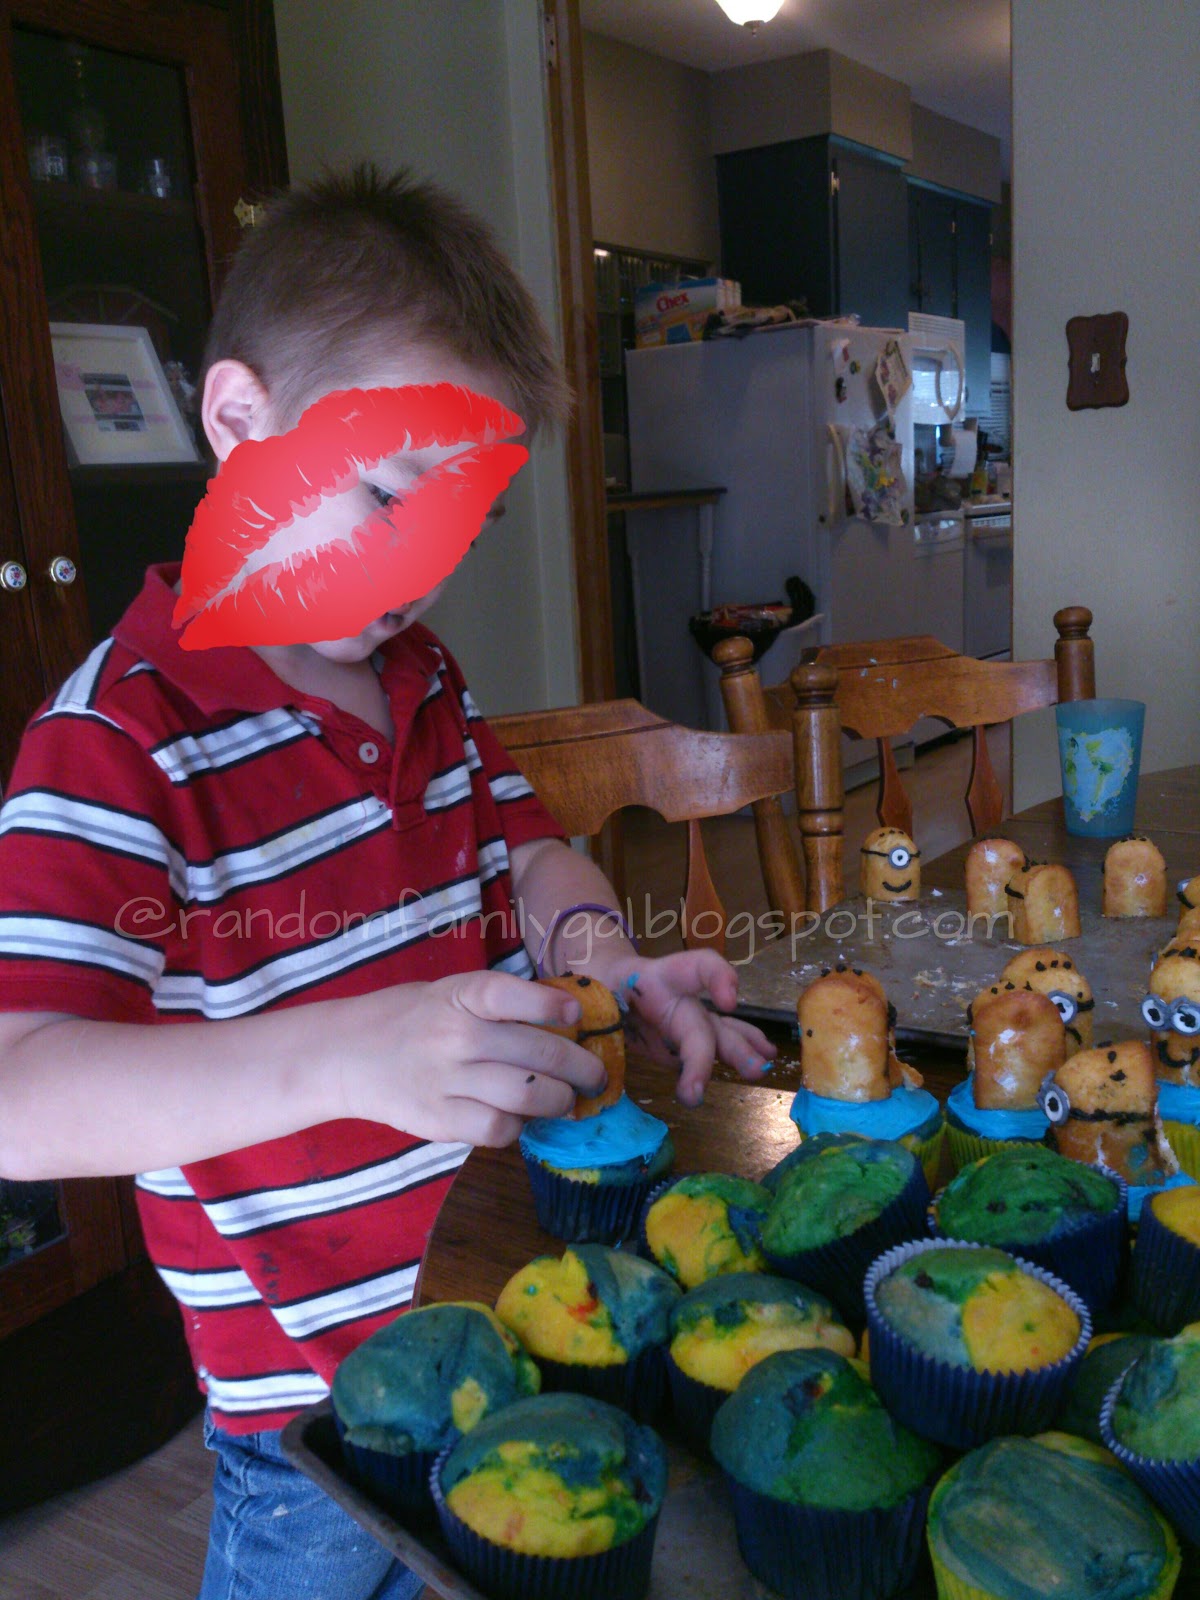
This is Tater decorating the cupcakes. As you can see, we thought it would be cool to color our batter to match the minions too.
So here's what we did:
1. We baked our cupcakes.
2. We frosted them with blue icing and set them aside.
3. Tater cut the twinkies in half.
4. I put dots of frosting on for eyes and Tater stuck white Smarties on them. (I'm sure he only ate about a pound of smarties while sorting out the white ones)
5.Tater put long chocolate sprinkles on the top for the hair.
6. I used gray and black frosting to finish the eyes and goggles.
7. Tater placed one Twinkie half minion head on each frosted cupcake.
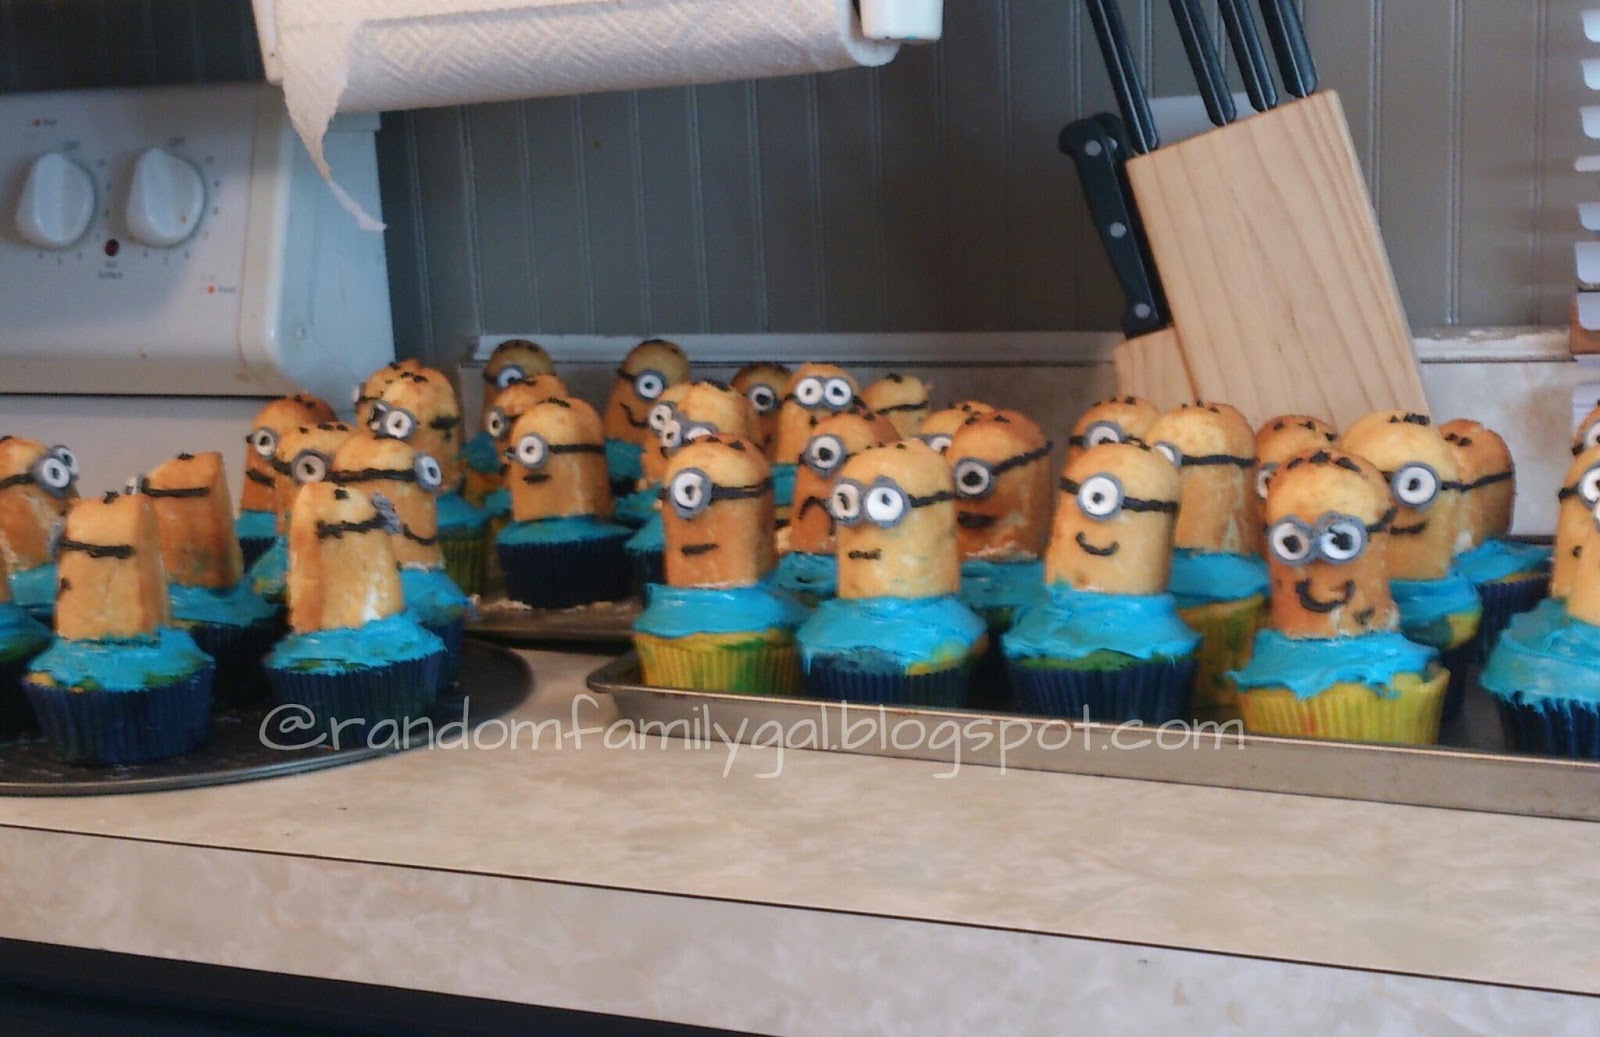
 
And this is our finished product. Aren't they adorable? No, they don't look like they came from a posh bakery. They look like a 7 year old got to have a blast with his favoite aunt making cupcakes. They were absolutely PERFECT!
 
Turned out pretty good, huh?
 
How to make your own:
What you need: Heat-n-Bond Ultra, yellow fabric,blue fabric (I used old jeans), scraps of black,brown, white and gray fabric, 2 buttons, hot glue gun
1. Prepare fabric according to Heat-n-Bond instructions.
2. Draw complete outline of minion (hands,gloves, shoes included) on paper to make a stencil. (I had to do mine freehand but I would recommend tracing a copy if you can.)
3. Trace the complete outine of minion on yellow fabric and cut out.
4. Trace and cut out the overalls, gloves, boots, each layer of the eyeball, goggles, mouth and the pocket of the overalls.
5. Iron the yellow outline on your jacket.
6. Iron on the pants, gloves, boots, goggles strap and mouth.
7. Iron on the white of the eye and the jeans pocket.
8. Iron on the brown of the eye and the gray ring of the goggles.
9. Iron on the pupil (black dot in the eye).
10. Hot glue 2 little buttons on the minion's overalls.
11. Enjoy your creation!
 
   
I think this last minute idea was absolutely perfect. And he really loved it, too.
 
You can make one too!

Here's what you need:
Cheap yellow bottle or cup, adhesive vinyl (black, white, gray, brown), something to cut with e.g. scissors I cheated and used my Cricut.
1. Cut black strip about 1 inch wide and long enough to wrap around your bottle/cup.
2. Adhere strip to bottle.
3. Cut 2.5 inch white circle, 1 inch brown circle, .75 inch black circle
4. Cut 2.75 inch O ring shape
5. Adhere black circle on to brown circle, then brown circle on white circle. Now you have an eyeball!
6. Adhere eyeball to bottle on top of strap.
7. Adhere the gray ring to the eyeball.
8. Cut a mouth and adhere it under the eye.
9. Fill it with your favorite beverage and Enjoy!
 
Thanks for stopping by. I hope you enjoyed my minion projects. Come back soon.



Saturday, September 14, 2013

Candy Bouquet for Boys

Yesterday was my sweet little nephew, J's 7th birthday. I don't see him very much. Mostly just at holidays. He's my brother's son and I don't see him much either. I usually go through J's mom to see him. Anyway, J's Mom invited us to his birthday party and I really had no clue what to get him. So I made him a candy bouquet. I was a little worried that bouquets seems so girly, but I think I BOYed it up pretty good. Yes, BOYed is a word, even if I just made it up. Besides, what 7 year old doesn't love a cup full of candy? I just hope he doesn't have any food allergies...
 
Here's how you can make your own candy bouquet.
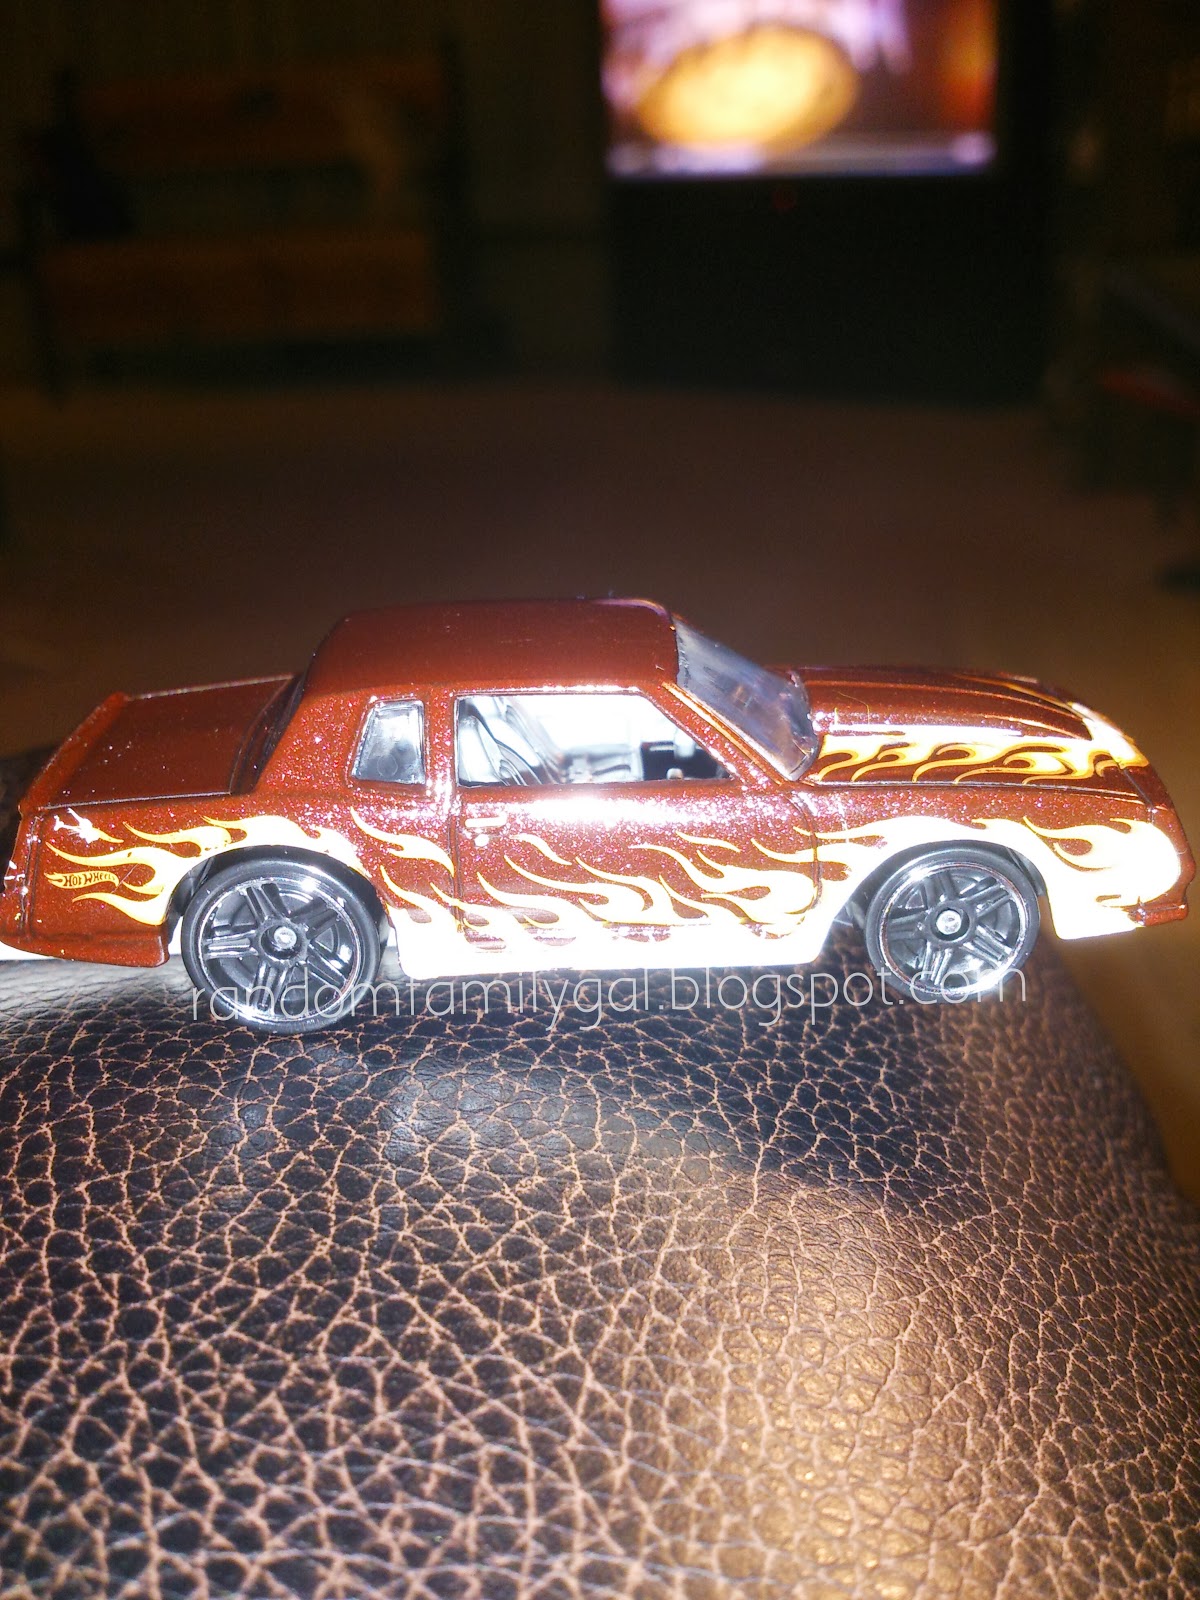
1. I bought Laffy Taffy, Smarties, M&Ms, and Cookies and Cream Hershey bars. Then I bought a yo-yo, 2 little planes and 2 Hotwheels cars. One of the Hotwheels cars looks almost just like J's dad's car.
2. I taped all of the candy and little toys onto cake pops sticks. Well, Banana and I did.
3. I put a little bit of newspaper in the bottom of one half of the super cute Disney Planes cup. Only half because I wanted the back pieces to stick up higher.
4. I put all the sticks in the cup.
 TA-DA!
The finished product! 
 
This is the car that looks like J's Dads. 
 
Who else likes to give candy gifts? This is my 3rd candy gift this year. I made candy cakes for my bro-in-law and my 14 year old nephew back in April and May. Not sure I blogged about those yet. Maybe I will soon... Leave me a comment and tell me about your candy gifts.
 

Friday, February 8, 2013

Peanut Butter Apples


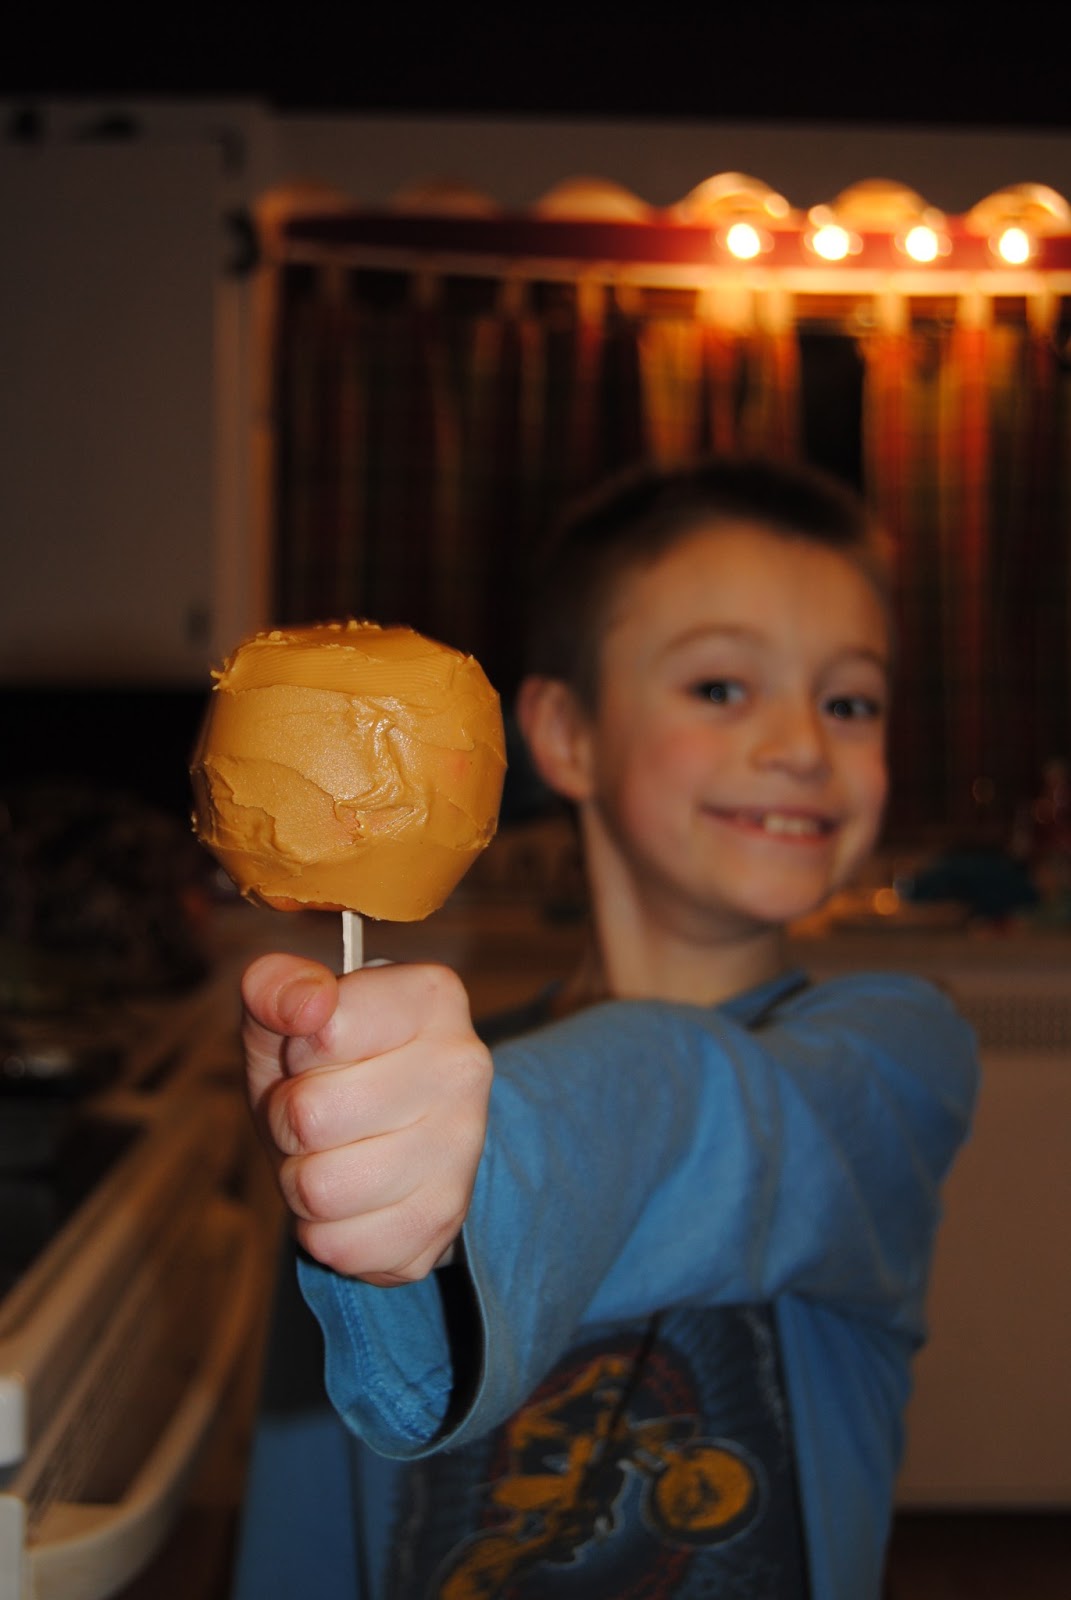
      Hey there. Tonight my little Monkey asked me when I was going to make peanut butter apples. Huh? "You know Mom, like you do with the caramel." I've never heard of this but eh, I'll give it a try. And guess what, it worked! And they loved it! Here's what we did:

First put a clean craft stick in the bottom of the apple. Then cover it with peanut butter:

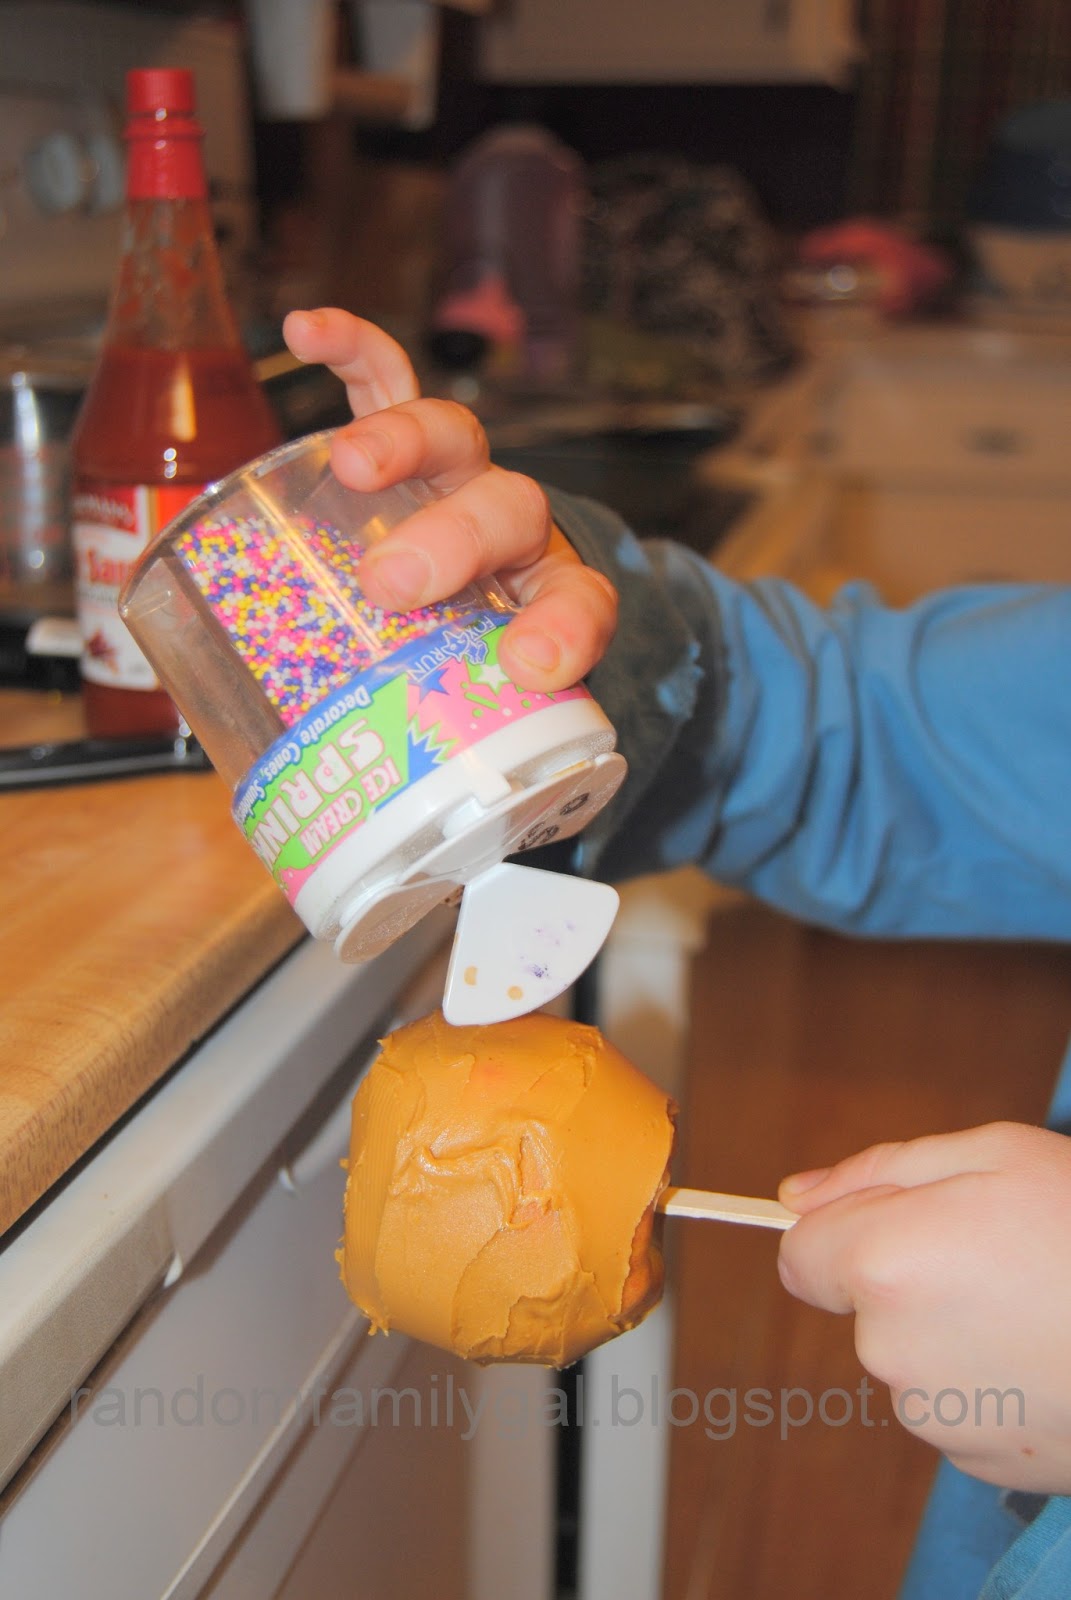
     Then you just have to add sprinkles:

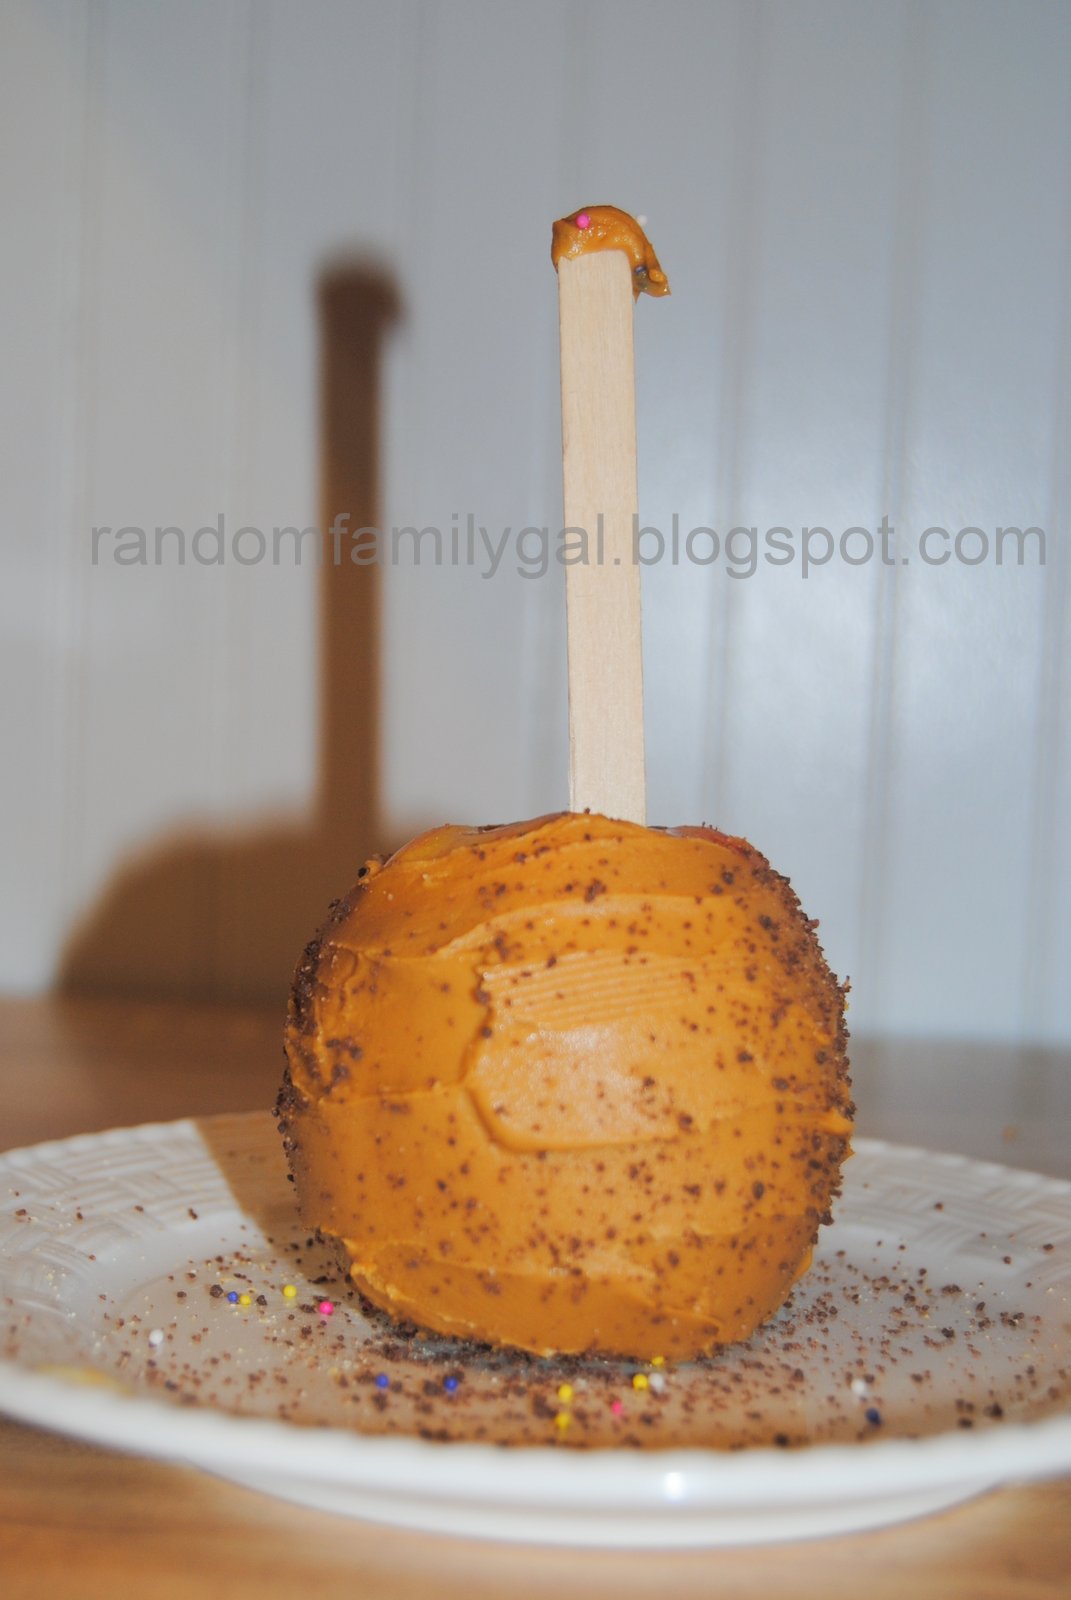
And ta-da! Simple Delicious Alternative:
     
     The kids really enjoyed making and eating these. Do your children have any simple favorites? Please share them. And thanks for stopping by!
~Ms.Random

Friday, January 25, 2013

How to: Glitter Walls

     As you all know, I have been a busy bee working on making this house our home. And Banana's room is no exception. She had 3 requirements for her new room: 1. Blue
                                                                                      2. Glitter
                                                                                      3. Zebra
Quite a list for a 4 year old, huh? But I am proud to say: NAILED IT! Lol. While shopping at Menards one day I found the blue paint. In the mis-tint section, no less. Cha-ching! Yes, every Menards has one. They sell the colors that have been tinted and put back for $5 a gallon. And here is how to glitterise the walls.

What you need:
Paint
Glitter
Glitter Gun (I rented one from Just Ask Rental inside True Value Hardware store)


  • First you put your paint on. ONE WALL at a time. I put the first coat on all at once then did the 2nd coat one wall at a time.
  • Next fill your Glitter Gun with Glitter. Any kind of glitter you want. This is the glitter I used:

 If you look close you may be able to see that I only used about 30% of this 1 lb bottle.
  • This is the Glitter Gun: the top opens  or the glitter to go inside. The circle is a crank handle. When you turn this handle glitter sprays out of the gray upturned "nose".


  • On your wet painted wall; stand about 2 feet back and start cranking the handle and the wet paint will catch and essentially glue the glitter to the wall.
  • Repeat on remaining walls that you want GLITTERISED.
 You should know that more glitter ends up on the floor than on the walls but it comes up easy enough with a vacuum. Well as easy as glitter comes off of anything.
So now we have the blue and the glitter but we are still missing one of her key elements. ZEBRA.

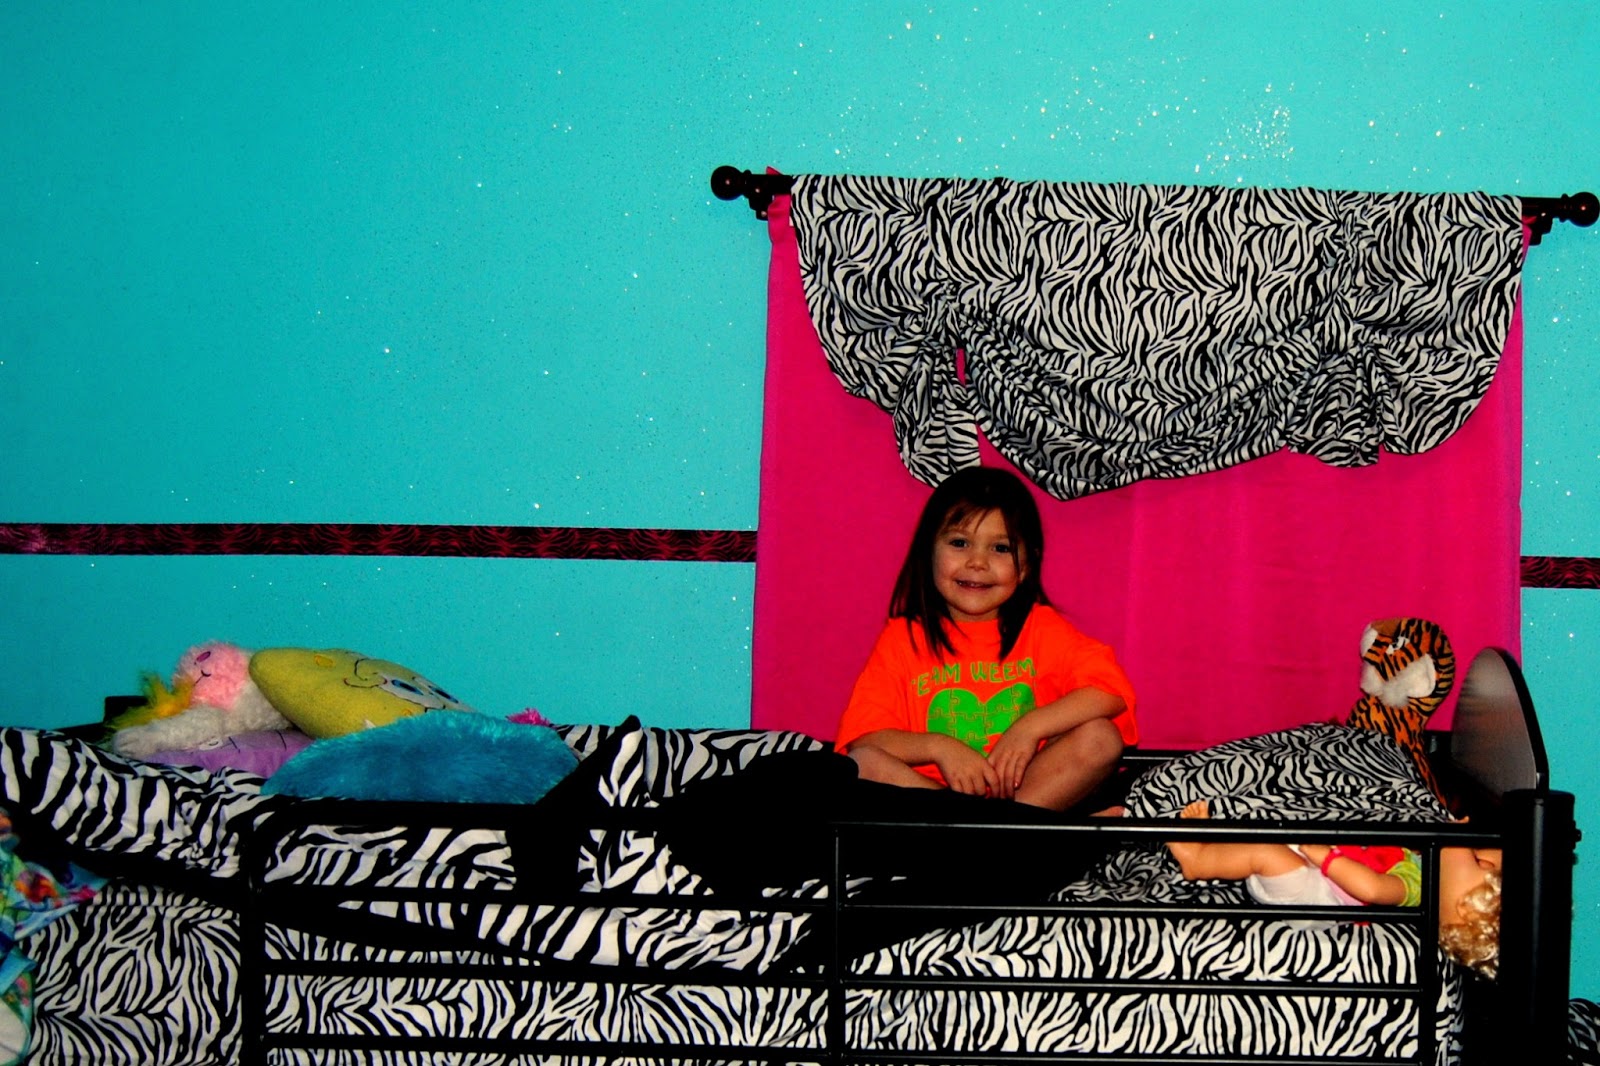
She also wanted pink but it wasn't a must. And I do believe I incorporated it in a very nice way. We picked out the pink curtains and I made the zebra valances out of the flat sheet that came with her bedding. Then at the last minute she and I picked out some hot pink and zebra Duck brand tape to use as a border. Yep, that's how this country girl rolls. 

And here is the finished product with one happy little girl showing it off.


     Have you done any home projects? I'd love to see them just leave me a link in the comments.

I hope you enjoyed this little tutorial. Thanks for stopping by and come back soon!

Wednesday, October 24, 2012

Abby Cadabby Costume: Success!

     Hey there! Have you all been getting ready for Halloween? I have been busy getting Banana's costume ready. She got to dress up for preschool today. Which I really don't understand because she has school on Halloween. The only thing I can figure is that, since its a church, they can't celebrate Halloween. The party is called a Fall Dress Up Party. But whatever.
I slacked off on getting ready for Halloween with everything else going on this month. I guess figured I had a whole week left. Moday I realized that I only had till Wednesday. So off Carmen and I went on a late night run to Wally-World, armed with one of Banana's Abby Cadabby dolls to copy. I got the 2 rolls of blue tulle that they had and pink and purple feather boas that are sold by the yard to make for 'hair'.
Well its a good thing that Carmen had to go back to Wal-Mart the next day. Different town. There are 3 seperate towns all about 25 mins away in different directions, that have Wal-Mart. I called her while she was at Wal-Mart because 2 rolls of tulle just covered half. Thankfully, she brought me back 3 more rolls, just to be safe. I used wings that she already had and made her a wand out of a dowel rod and leftover tulle. I didn't take pictures along the way, (sorry) but here's what you need and how I did it.

What you need:
(for the dress)
4 rolls of tulle
Elastic (size of child's waist)
Ribbon
(for the hair)
1 yard each pink and purple feather boas
alligator clip
string (I used a small scrap of tulle)
(for the wand)
4 inch tulle scraps (the more you use the fluffier the wand)
dowel rod
felt scraps

For the dress, I basically made a long tutu. Then I wound ribbon around the knots and through the gaps on the top. Then I attached a ribbon belt about 3-4 inches down from the top.
For the hair pieces, I gathered 3 pink and 3 purple strips of boa. All about 3 inches long. I tied them off in the center with tulle scrap. you could use any kind of thread, string, yarn etc. Then I hot glued each puff to an alligator clip.
For the wand. I gathered tulle scraps. Do not stack them because they dont puf as well. Gather them and tie them off in the middle and hot glue the puff to a piece of felt. Then glue to the dowel rod.
Then dress your little princess in your creation.
TA-DA!!!
The absolute coolest thing that happened was as soon as we went in her class, one of her classmates even knew who she was supposed to be.
Thanks for stopping by, and come back soon.
~Ms.Random